Showing posts with label Just Fun Stuff. Show all posts

Friday, March 6, 2015

Out with the Old, In with the New


I have an old iron rack hanging on the wall of our kitchen and that's where I keep a portion of my rather large collection of aprons.   Some I've made over the years, some were gifts from friends and family and some I just had to buy when I spotted them in the store.
I store the majority of the aprons in a closet in the laundry room and switch them out with the seasons.   For February I hung my pink with red lips apron.   What else says Valentine's than rosy lips puckered up, ready for a kiss?
 Now that it's March, I traded out the lips for my St. Patty's Day apron.    I made both aprons a couple of years ago after finding the fabrics at one of my favorite fabric stores in Florida.   So how do you decorate for the seasons?

Debbie

Thursday, October 24, 2013

Pink...Pink...I Just Love Pink!

Sometimes I see fabric at the store and it's as though the fabric has it's own gravitational force.........the luscious colors just pull me in.  And so it was with the fabric I used for another bag I made for my crafts.....this one was for my hand stitching. 
I just love the roses set on the soft blue background, and who could resist the pink and white polka dot?   It's just the perfect shade of pink....not too soft, not too harsh.....aaaaah, just right!
Just like the knitting bag, this bag began with the embroidery from Embroidery Library.     I stitched lime green (my other favorite color) ric rac around the embroidery which was then lined to create a pocket.   The pocket was then hand stitched on three sides to the front of the bag using heavy light pink cotton thread.   And I added two lime buttons to the handles to tie all the colors together.   Love, love, love the way this turned out.
Of course I put some pockets on each of the long sides inside the bag which hold patterns, scissors and floss.  As you can see I am currently using this bag to hold redwork embroidery for a quilt I am making for Christmas.   And just like the small bag I made for knitting socks, this bag is always stocked with everything I need to work on my project.   That way I can just pick up the bag at any time and walk out the door with some handwork to keep me busy while waiting at appointments.
If you have ever done any hand stitching you know that the first thing you need to keep organized are your needles for different projects.  A needle case is the easiest way to keep all your needles in one place and at the ready for a new project.   I had this wonderful lime fabric with script across it just begging to be used.   And I found a small crochet flower and smaller three dimensional rose button in one of my drawers of "goodies" and used those to complete the front of the needle case.
When you untie the pink ribbons and open up the needle case there are two pockets on the left which are large enough to hold quite a supply of packaged needles for different stitchery projects.   On the right is a thick flap of felt that is only attached at the top with the pink and cream ribbon making it easy for needles in use to be "on hold" there, ready and waiting for more thread.
Hand work bag
  
Knitted socks bag
Large knitted projects bag

I'm thrilled with all three of my new craft bags...one for knitting socks, one for large knitting projects, and one for hand stitching.   Color is what always draws me to fabric....and paint.....and clothes....and department store displays....and cars..........ooops, sorry, I got carried away.   As I was saying, color always draws me to fabric, but when I sew something it needs to be very functional in order for me to be happy with the end result.   And I'm very happy with how all of these bags have turned out.  I expect to get many years of use out of them, and they make me smile whenever I pick them up as I head out the door.                        

Why not make some bags for your own projects?
Debbie                                                                                                                                                                      

Wednesday, October 23, 2013

Kaffe Fassett Rocks!

If you read my other blog, I promised to show the pics of the large version of a knitting bag I recently made.   When we go on trips with our RV, I usually end up knitting during a large portion of the drive while I'm sitting in the passenger seat.  After struggling with store plastic shopping bags to hold my projects I finally gave in and realized I would enjoy the knitting process a whole lot more if I didn't have to fight to keep my knitting organized.  
And this is what I came up with.   The bag is made using Kaffe Fassett fabrics, gotta love those bright, cheerful prints of his!   The bag measures 18" high and 14" wide and 6" deep.  
The embroidery was downloaded from Embroidery Library and stitched out on my Viking embroidery machine.   I felt like the embroidered focal point of the bag needed something three dimensional, so I added the lime, pink and orange ringed buttons on the left side and pinned a lime colored silk rose above the embroidery.   Aaaaah, now that's better.
I wanted to be sure the bag lasted a long time and so I added 8 sturdy metal purse feet to the bottom to protect it from getting worn.
There are pockets inside to hold scissors and other knitting paraphernalia.  And don't you just love the home-dec lime fringe?   See the smaller bag peeking out of the top?    There's more about that bag below.....keep reading.
 Luckily, I had these curved bamboo handles in my stash that were just the right size for the bag and were sturdy enough to hold the knitting bag and all its contents.   I took three different colors of heavy cotton and simply straight stitched under the handle to prevent it from slipping and to add some decorative panache.  Hand work is still one of the simple joys in my life.    Sigh.....

Here is one row of orange stitching completed and the lavender thread is next.   You can also see the finished embroidery piece that became the focal point of the bag.
And here is the completed stitching.  It works great to prevent the handles from slipping and sliding in their fabric casing which was used to attach the handles to the bag.
Also, I made this smaller bag that is just large enough to hold my sock pattern, double pointed needles and a skein of yarn.   This bag is for socks that are in progress.   I always have a skein of yarn in the bag and then when I have a doctor's appt. or need to kill some time, I just grab the bag and I have a ready-made project with me.....something to pass the time while waiting for appointments.  This bag can also just slip inside the larger one and is made from a companion print and has the lime handle to co-ordinate with the lime accents on the larger bag.   Too.  Much.  Fun!

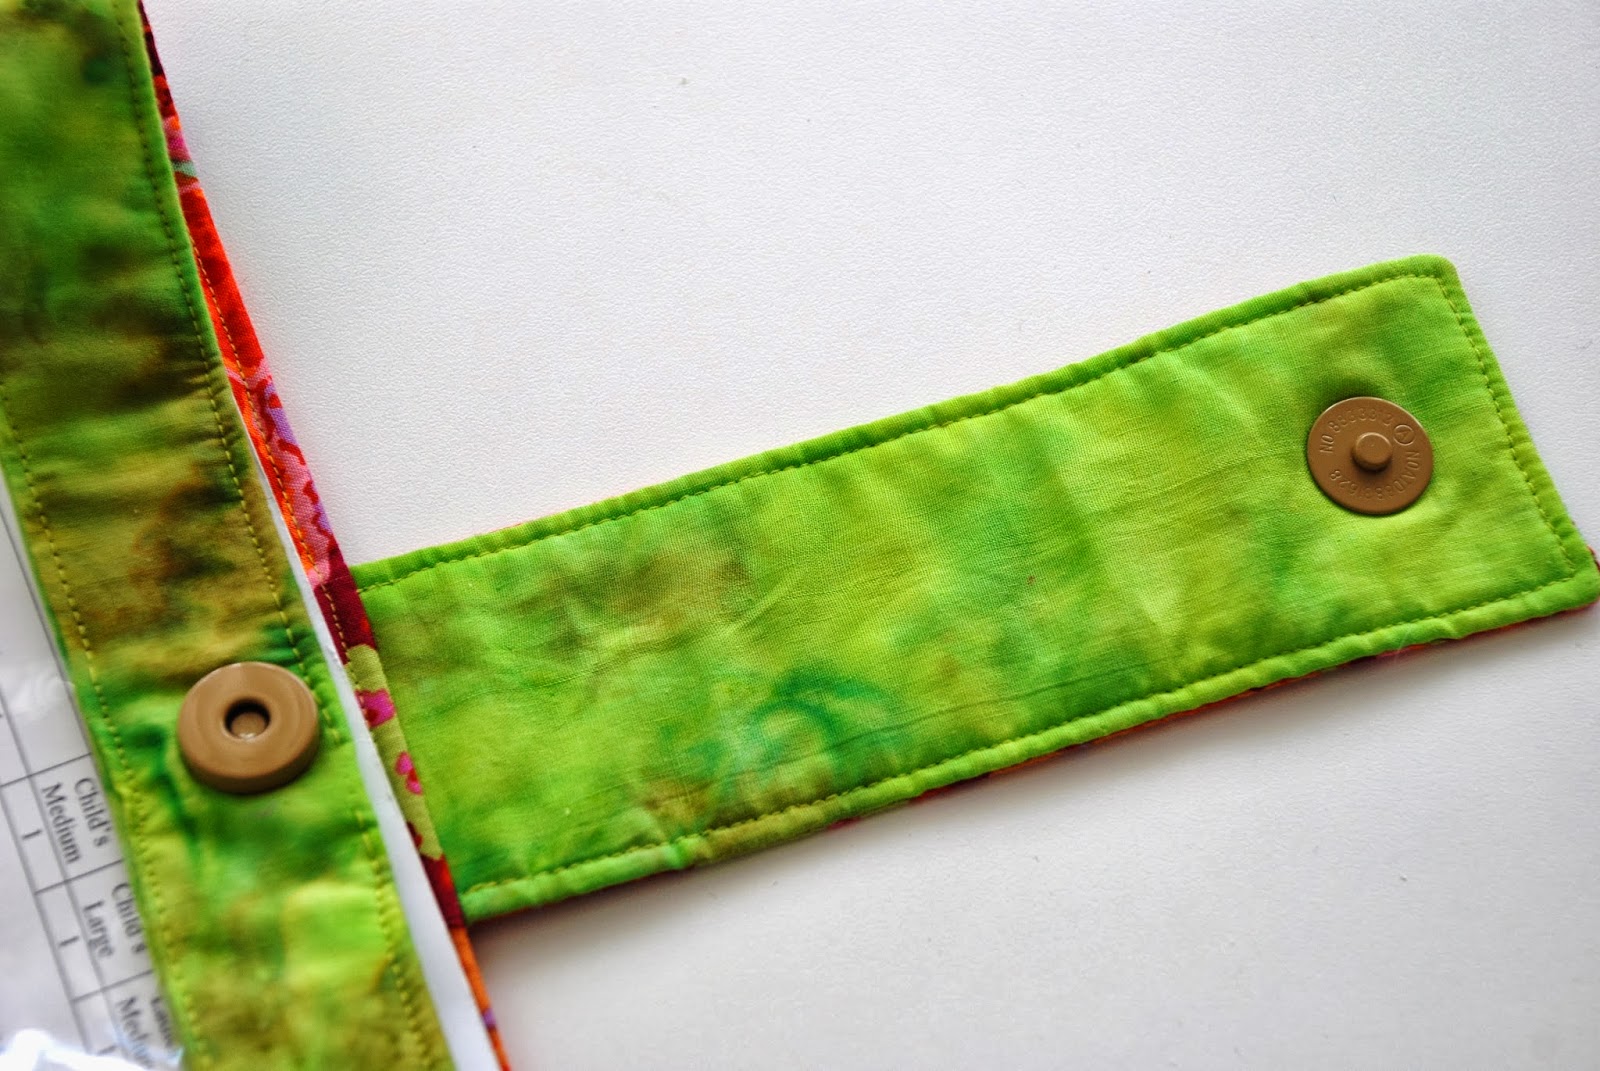
To close the bag, I used one of my favorite magnets on the lime tab top which also becomes the handle for the bag.

All in all, it was a real treat for me to sew these bags and create something that was both fun and useful for me, myself and I.   Since I spend the majority of my time in the studio working on projects for clients, it was a real treat to let my imagination run wild and create this bag "on the fly".   I've used the large bag for 2 knitting projects so far and it functions great.   But most of all it makes me smile every time I look at it.  And the smaller bag gets popped into my purse several times a week so I can keep making more socks.

One more bag to show you tomorrow,
Debbie

Monday, October 21, 2013

Star Wars Pillow

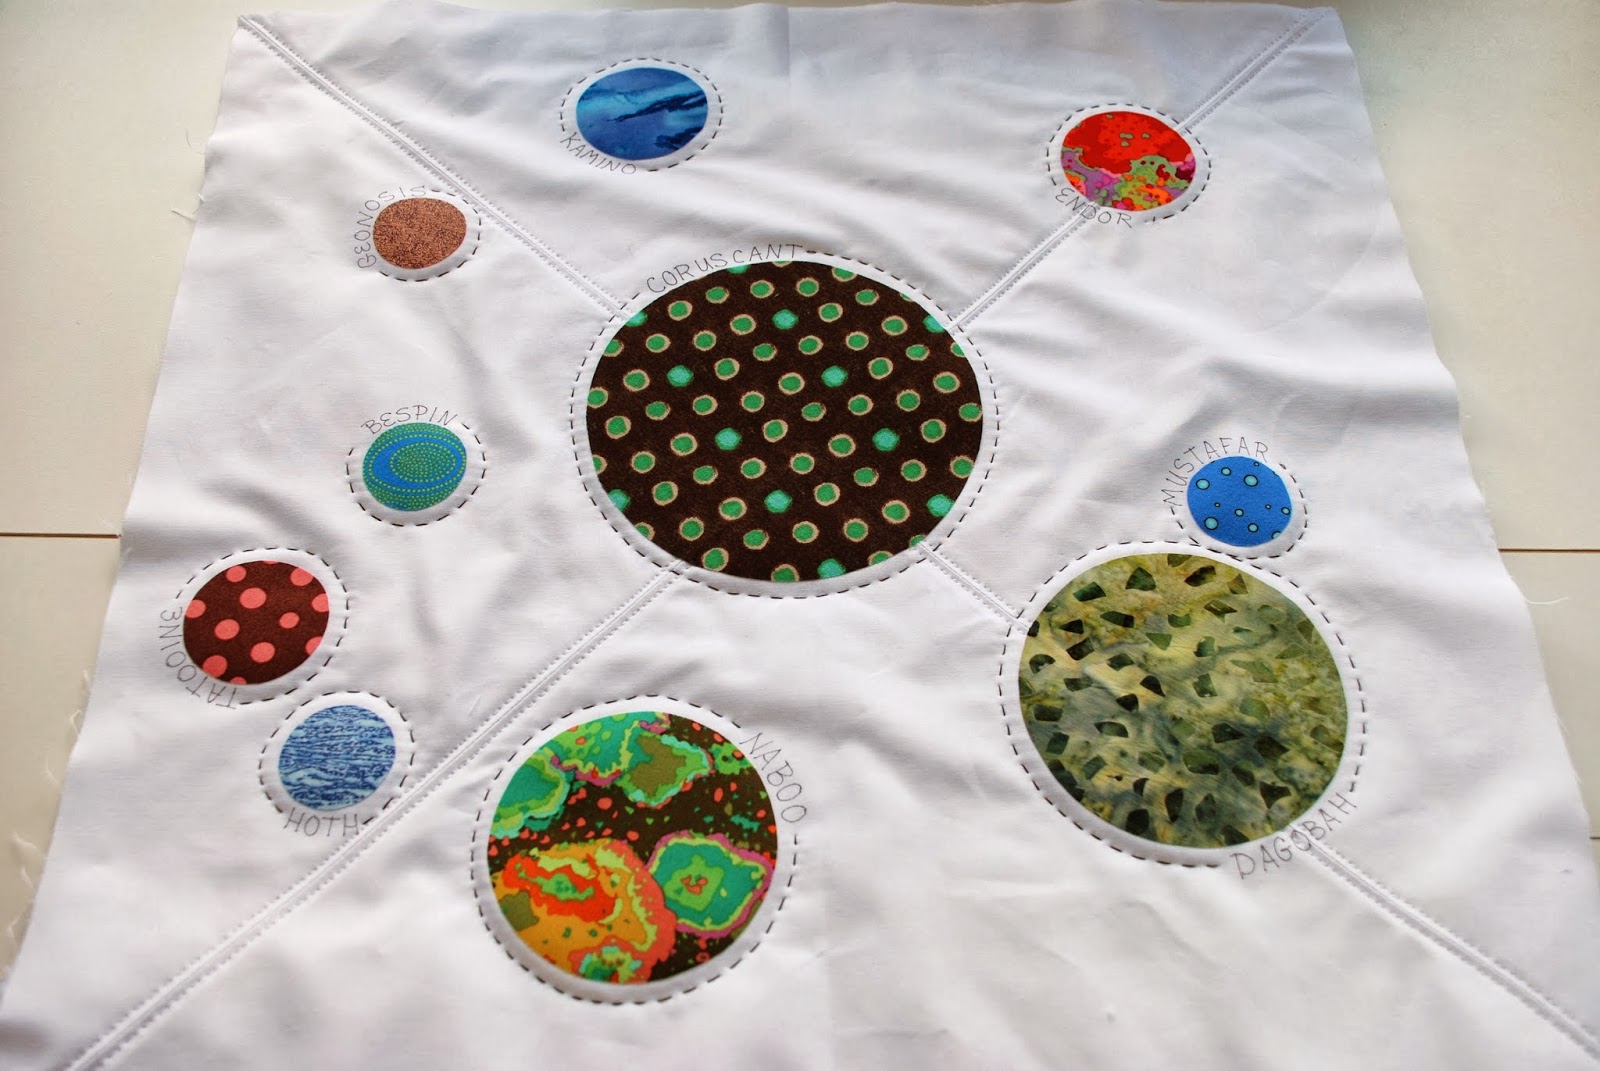
I wish I could tell you I was really clever and that I created this pillow out of my imagination, but, alas, that's not what happened.   When I was on Pinterest I saw this really cool pillow and my oldest grandson came to mind immediately as he loves anything that has to do with Star Wars.    When he was visiting I asked him to name the planets from the movie that he liked the most and he named some extras that weren't on the original pillow I saw on Pinterest so I included them for him.  

So I went thru my fabric stash and came up with wacky colors that I thought might be part of a Star Wars world and used Steam a Seam Lt. II on the back of the circles and adhered them to a white fabric base.  
And of course I used the Sashiko machine to stitch around the planets after writing the names of the planets in permanent ink. 
 
I especially like the fabric for Naboo as it looks to me as if it's a molten planet with shifting continents.   Hey, use your imagination!   It kinda looks like that, doesn't it?
This was a fun afternoon project and Jackson was really excited about getting a pillow to match his "brown" bedroom.    More decorating to come.......

May the Force Be With You,
Debbie

Friday, August 16, 2013

Bib Overalls, Coming Up

Have I ever shown you my bibbies?   I love wearing them!   I've been making bib overalls for a few years now, and they are just the most comfortable thing to wear.   No waistband, no tight restrictive feeling when you squat down to garden, lots of pockets to hold.......well, whatever you want to keep on your person.   And the design possibilities are endless.    The pockets can be a different coordinating fabric, and don't even get me started about buttons and other closures!

Well, here, I'll just show you what I mean.....
 I had an entire bolt of this palm tree fabric and was determined to use it rather than buy more fabric (we all know I have enough fabric for the next 10 years!).   I love the bright blue background sky with the greens of the palm fronds against the blue.
 Somewhere in my stash was this brown that worked great for the front hip pockets and then I used a bright blue for the bib pocket.  But first, I inserted a lime green zipper.....just for fun.
The back pockets are also made from the same brown fabric....the green lining didn't exactly match the outside, but you don't see it when the bibbies are on you. 

 These bibbies are  my old favorites.....I think I made these at least 5 years ago.  The cotton is nice and soft from so many washings.   The main fabric has beautiful roses on a soft pink background.  I used a soft pink with red dots on it for the bib pocket, the front hip pockets and the back pockets.   Dark red buttons were the only contrast needed on these bibs.
 These bibs were made just for camping trips.  They're cut off as crops, so, they're cooler to wear. 
And check out the "trailer" print fabric.   When I saw this in the fabric store, well, let's just say it had my name all over it!   The bib pocket is made with the trailer fabric and I added lime green rick-rack at the top.   For these bibbies I used traditional farmer's buckles and rivet  buttons to hold them up.
These bibs were just screaming out for some pink fabric and then I used the same rivet buttons for the side closures.   Lots of top stitching keeps them looking "authentic" and helps them wear after many washings.

So, the next time you wish you had something really comfortable to wear, why not whip up a pair of bib overalls for yourself?

Farmer girl wanna be,
Debbie


Friday, September 7, 2012

The Knitter's Edge


How's this for a cool knitting store?    All I could say was, "Wow"!  When I was in Pennsylvania in June, good ol' cousin, Connie, took me to her favorite knitting store, The Knitter's Edge.   The building formerly housed a bridal shop and is now home to this fantastic yarn shop.   The huge windows above bring loads of light into a cozy couch lined room where knitters sit and......well, knit!

The posts guarding the entrance to the parking area have knitted cozies on them!

The vault that previously held very expensive wedding gowns is now stocked floor to ceiling with the most incredible yarns I think I've ever seen.   What a great way to spend a few hours browsing the many rows of yarn, books and notions.  So, if you're ever in the Bethlehem, Penn. area, check them out.  I am sure you won't be disappointed.

Gonna go back some day,
Debbie

Monday, August 20, 2012

Teal and Monday Morning Musings


I came across these fabrics in my "stash" of material not too long ago.   Teal, in all its shades and hues, is one of my all time favorite colors.   So, I started folding and stacking the luscious pieces and tied them all up with a length of teal ribbon.   They needed to be elevated to bring them more importance so I found a small cake stand and now I think they look so happy together!

Don't your fabrics want to be special, too?
Debbie

Sunday, August 19, 2012

Quilt Trails of Western North Carolina

Now you know how much I love quilts; I love to make them, I love to look at them, I love to sleep under them, I love to find new quilt patterns, and I love to "talk" quilt-shop-talk with other quilters!
It was no surprise that when we were on a recent trip to North Carolina that I brought the car to an immediate stop while driving down a winding country road.   There was a quilt block painted on the side of a barn!!!  

How cool is that?  I knew that someone in a northern state had started a trend of folks painting quilt block patterns on wood and hanging them on the side of their barns.   But, I didn't know that there was a "trail" of quilt barns in North Carolina also.  

I think the blocks look especially pretty against the grey/bleached out wood of the barn siding.

Each day as we left the cabin, I kept a sharp eye out for more of the quilt barns.   As it turns out, there are tour guide brochures you can purchase to guide yourself thru the local farmland and small towns as you hunt down the quilt barns.   Check them out at www.quilttrailswnc.org  


Even the general store in the little neighboring town had a quilt block on it's exterior wall.  See it in yellow near the front of the left side?

I think it would be fun to drive from farm to farm and town to town and see if I could find all the quilt barns.   Hmmmm, I wonder if we could do something like that here in Florida?   Instead of barns, how about the side of buildings....you know, like the murals that some towns paint on buildings to make them prettier?

Just an idea,
Debbie