Monday, October 7, 2013

Lovely Lavender for a Friend

Late last spring, my friend Barb had to have some surgery, and she told me that she would be laid up for quite a while afterwards.   It's hard to support a friend during something like that when you live a day's drive away from them.   You know what I mean, don't you?   You want to make them soup, and maybe run their vacuum for them, bring them flowers and a card, or just sit with them to keep them company as they recover.

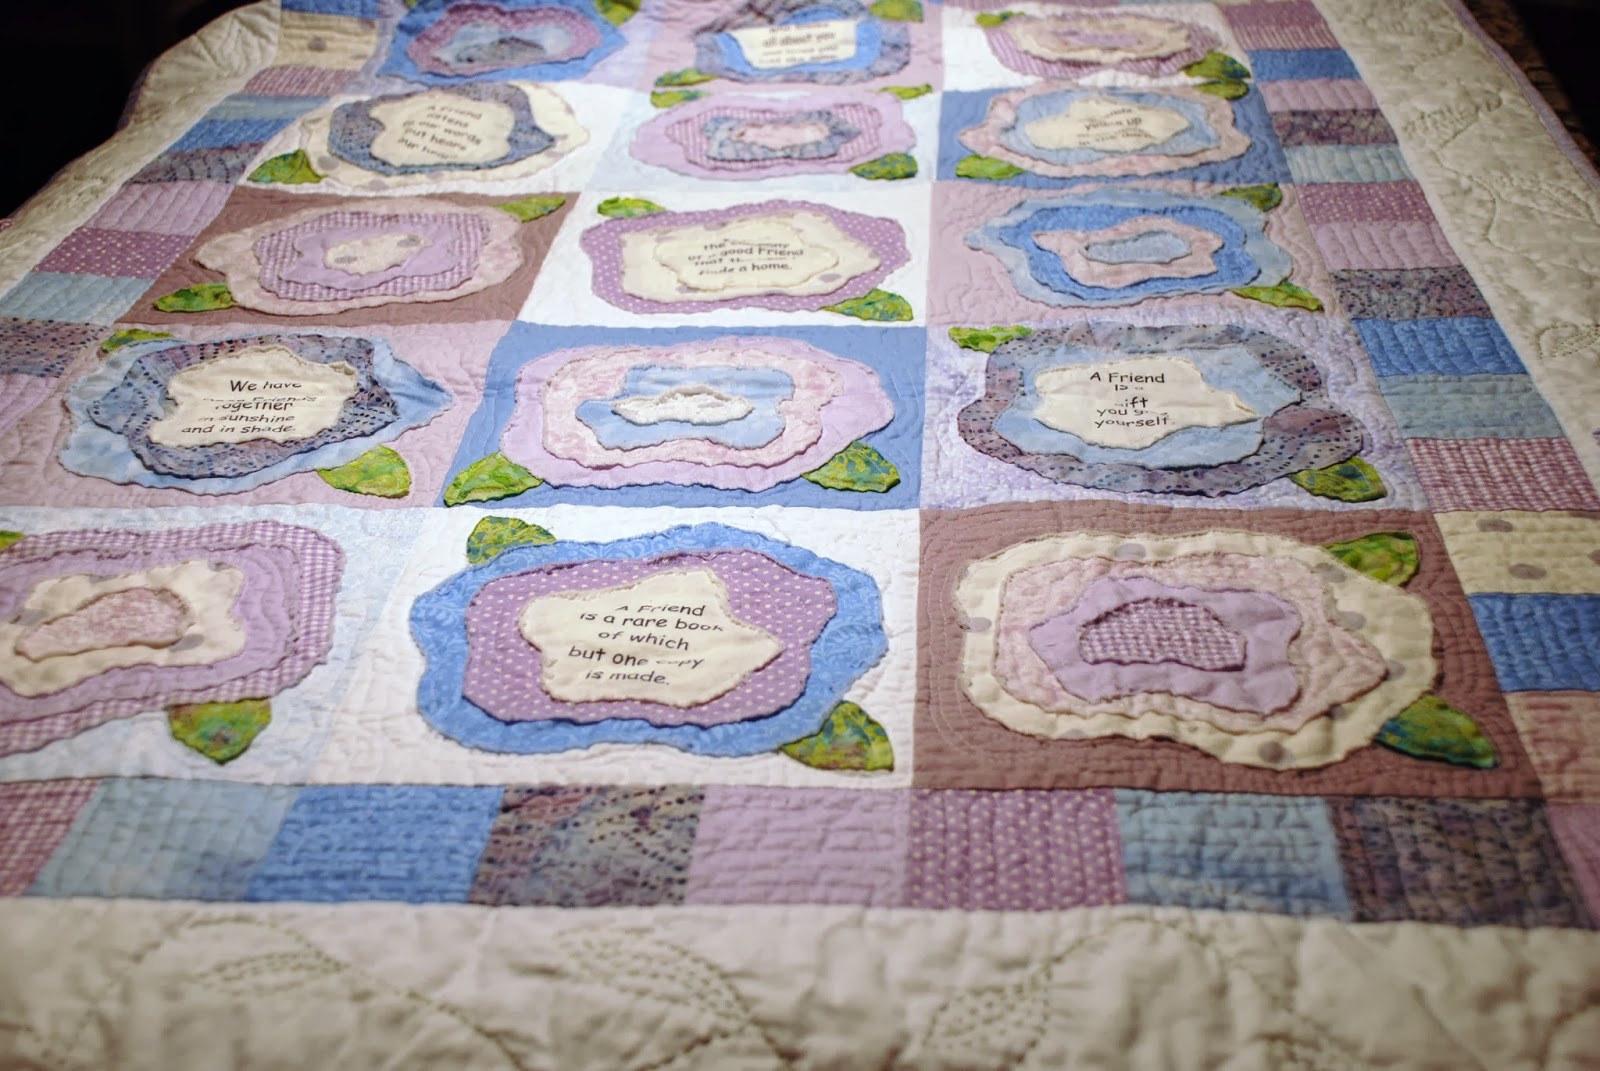
Well, after a lot of thought, I decided to make a quilt for her to use as she lay on her bed or the couch recovering.    At least I would be there in spirit with her, trying to give her some comfort and aid.   Barb loves the color lavender a lot(she even has a lavender bedroom), and I decided to add heather, cornflower blue and all shades of light purple to her quilt.   So, now, here's the quilt I made for her.

The design of the quilt began with a pattern from Heather French (can you believe it?   More heather??? for my purple quilt?)  The pattern is called "French Roses" and uses soft edge applique as the technique for making the roses.   You can get the pattern for the rose blocks at 1-702-236-8666 or email her @ french_roses06@yahoo.com.


Each block has a multi-layered rose and a couple of leaves.  The whole quilt is very free form as the roses are 3-4 layers of fabric, with raw edges so that when you wash the quilt the edges ravel and fray and get really "rustic" looking.   Sorry the photo above turned out a little blurry.   Looks like I need to polish my picture taking skills.
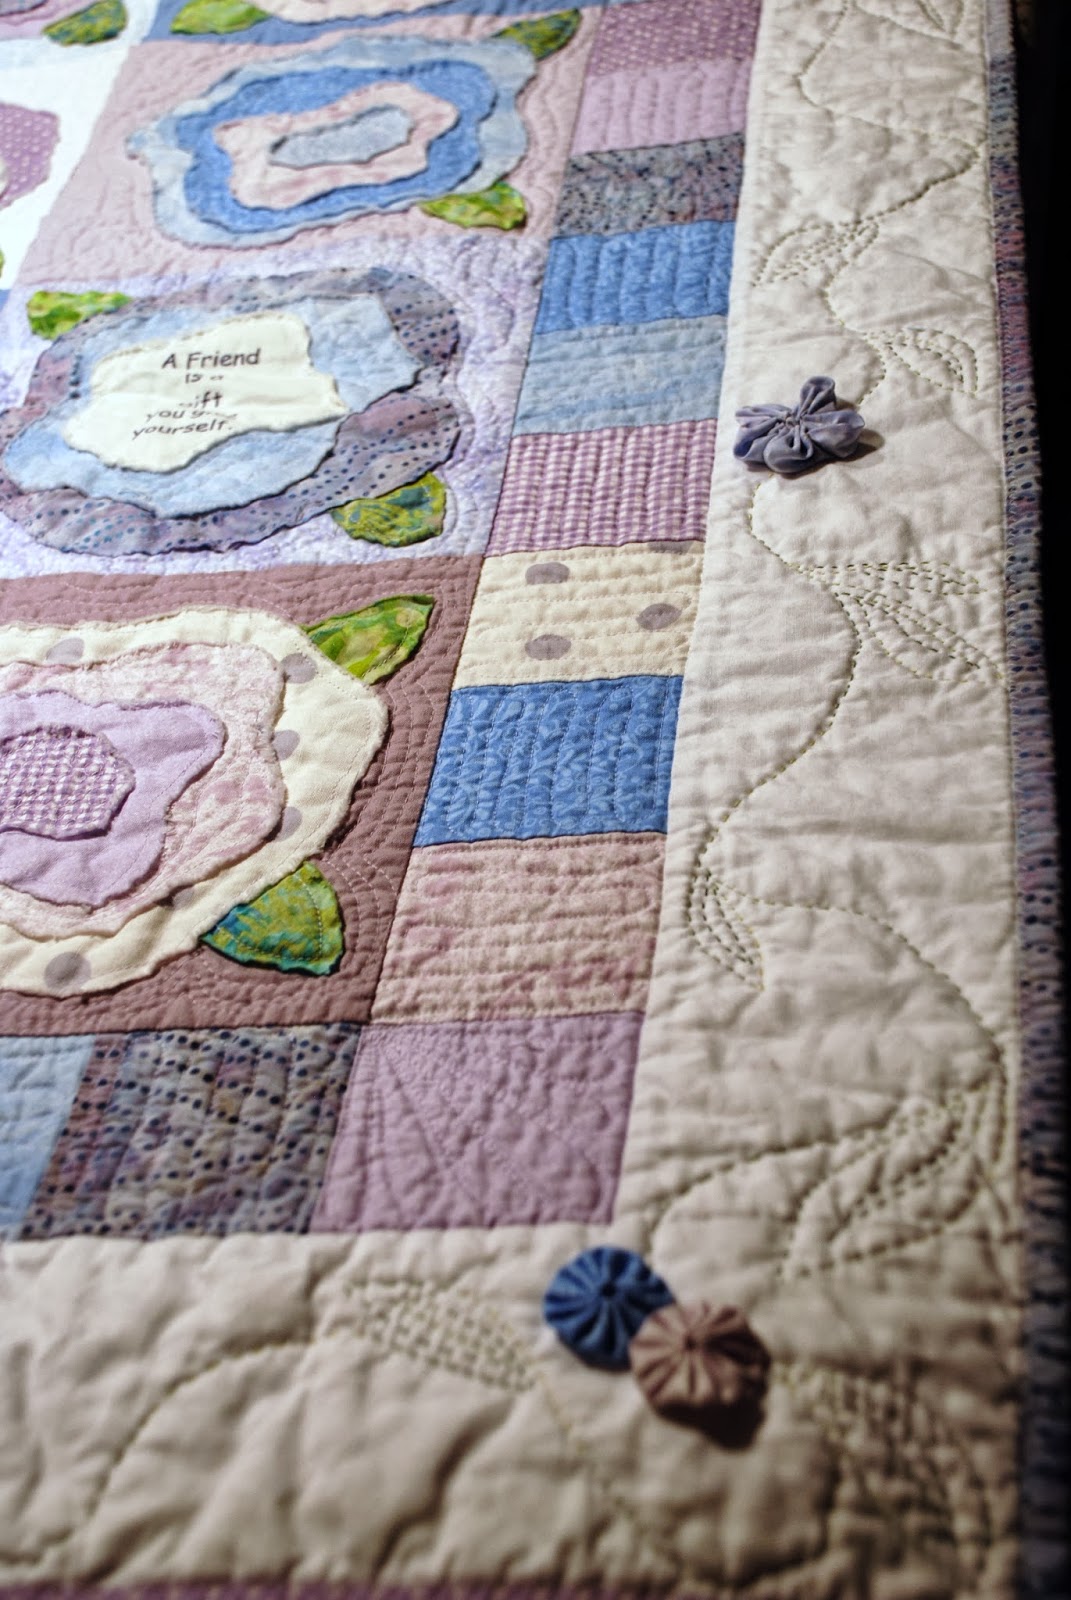
For the border, I used a thread that is variegated green and put my trusty Sashiko machine to work.  It stitches out like hand quilting in a fraction of the time it would take to do this by hand.
Pretty cool, huh?    Don't get me wrong, I love doing my hand quilting, but sometimes when doing free form stitching, it helps to just guide my Sashiko across the fabric and it gives me the freedom to "draw" with the stitches in a more fluid manner than if I was hand stitching for hours and hours.

I had a panel of fabric with sayings about friends and used some of them as the centers of half the flowers.   The remaining fabrics were cut into squares and used as the first border around the flower blocks.   The white outside border created an embellished frame for the whole quilt using the Sashiko stitching and some yo-yo flowers I made up.
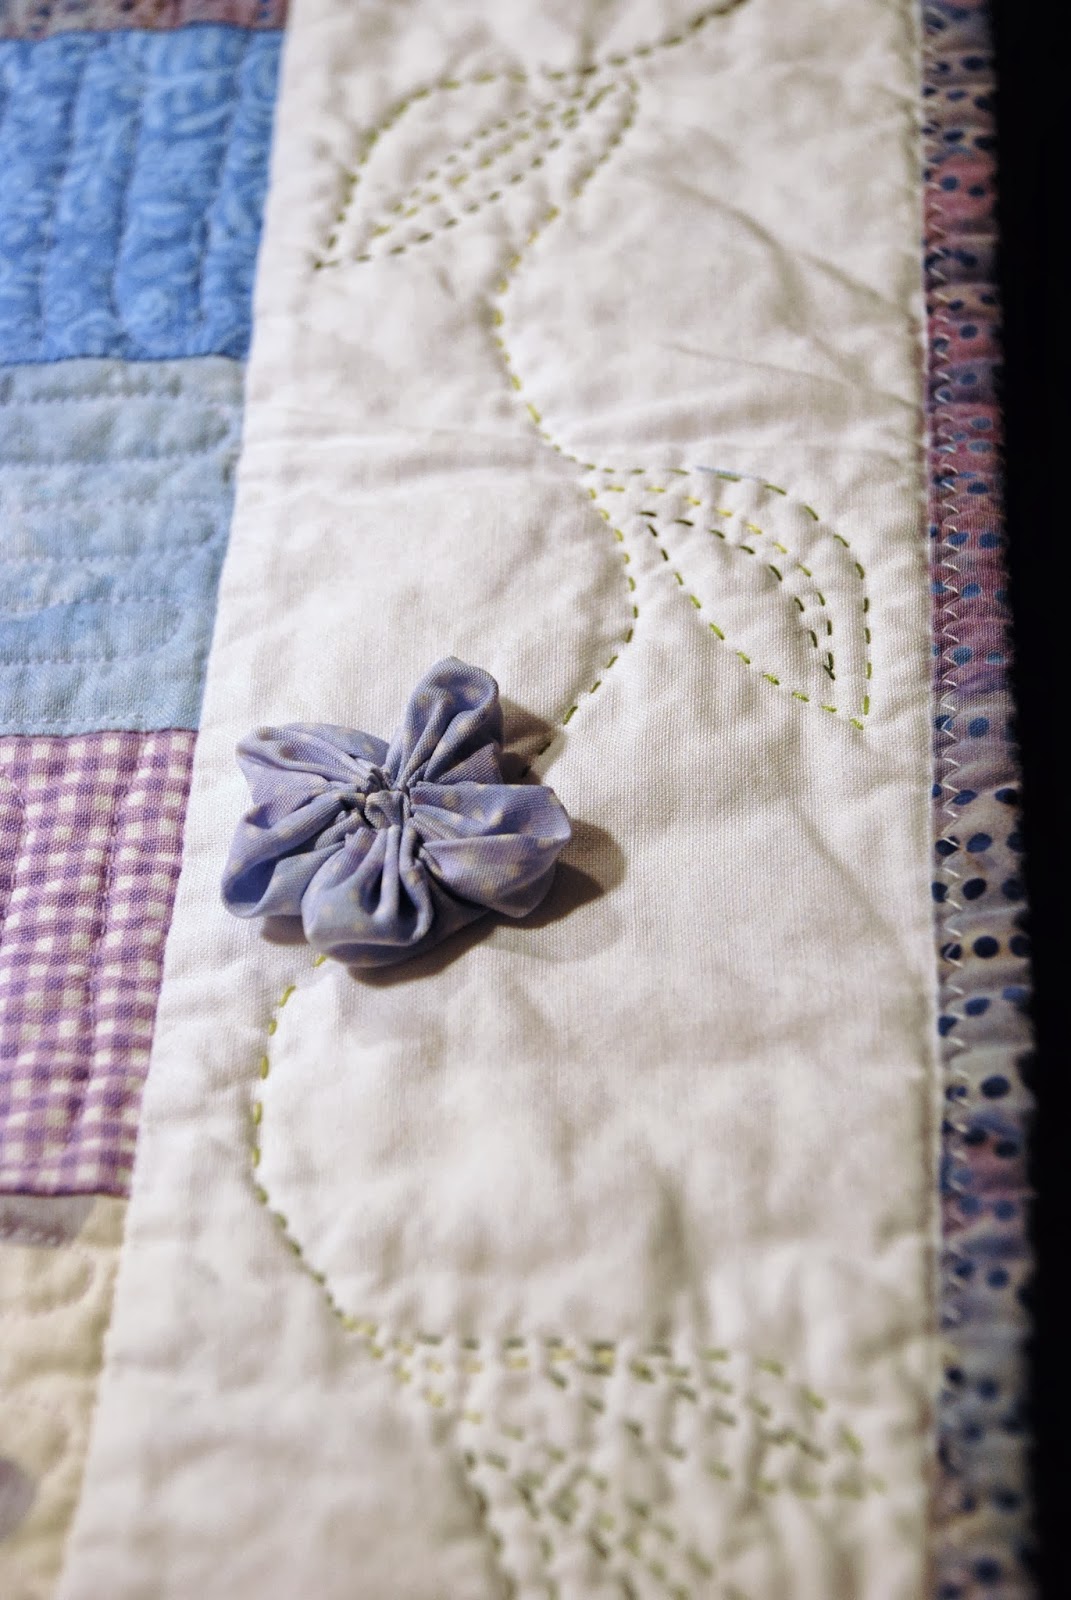
I randomly "plopped" the yo-yo flowers around the leaf and vine border, just to give the quilt some added dimension.
Then, I machine quilted around the roses and leaves, and inside the roses to secure the various layers of the flower to the quilt.   The inside border was quilted with simple undulating lines that I rotated from square to square.
Another blurry picture, but at least you can see the quilting and yo-yo flowers a little better here.
 This quilt was a lot of fun for me to make and it was a true labor of love.   And I was able to get it to Barb when her sister-in-law flew up to see her just before her surgery and she tucked the quilt in her luggage. 

 Oh, I almost forgot.   I also made her a matching pillowcase and had the quilt "wrapped" in the pillowcase instead of wrapping paper.    The attached note had instructions for Barb that she couldn't open her present until she got back home from the hospital.   Barb said it was torture for her not to open her gift, but after she was safely back home from her hospital stay, she said she was glad she waited for her surprise.   And I got the most lovely thank you note a few weeks later.  

Giving her a quilt made with love and lots of thoughts of her was not a substitute for being there, but she said it was a close second.
Debbie

Friday, August 16, 2013

Bib Overalls, Coming Up

Have I ever shown you my bibbies?   I love wearing them!   I've been making bib overalls for a few years now, and they are just the most comfortable thing to wear.   No waistband, no tight restrictive feeling when you squat down to garden, lots of pockets to hold.......well, whatever you want to keep on your person.   And the design possibilities are endless.    The pockets can be a different coordinating fabric, and don't even get me started about buttons and other closures!

Well, here, I'll just show you what I mean.....
 I had an entire bolt of this palm tree fabric and was determined to use it rather than buy more fabric (we all know I have enough fabric for the next 10 years!).   I love the bright blue background sky with the greens of the palm fronds against the blue.
 Somewhere in my stash was this brown that worked great for the front hip pockets and then I used a bright blue for the bib pocket.  But first, I inserted a lime green zipper.....just for fun.
The back pockets are also made from the same brown fabric....the green lining didn't exactly match the outside, but you don't see it when the bibbies are on you. 

 These bibbies are  my old favorites.....I think I made these at least 5 years ago.  The cotton is nice and soft from so many washings.   The main fabric has beautiful roses on a soft pink background.  I used a soft pink with red dots on it for the bib pocket, the front hip pockets and the back pockets.   Dark red buttons were the only contrast needed on these bibs.
 These bibs were made just for camping trips.  They're cut off as crops, so, they're cooler to wear. 
And check out the "trailer" print fabric.   When I saw this in the fabric store, well, let's just say it had my name all over it!   The bib pocket is made with the trailer fabric and I added lime green rick-rack at the top.   For these bibbies I used traditional farmer's buckles and rivet  buttons to hold them up.
These bibs were just screaming out for some pink fabric and then I used the same rivet buttons for the side closures.   Lots of top stitching keeps them looking "authentic" and helps them wear after many washings.

So, the next time you wish you had something really comfortable to wear, why not whip up a pair of bib overalls for yourself?

Farmer girl wanna be,
Debbie


Wednesday, August 14, 2013

The Icing on the Cake

The monster quilt was such a hit with Nate and I had a lot of leftover fabric........so, I decided to make a matching pillowcase to go with the quilt.

And since I had a few more silk triangles already made up, I made sure to put them front and center where he can touch them as much as he would like to.   Don't you just love the little monster hands holding the letters of his name?   Nate looks ready for a nap in this photo....

No time like the present to check out the snuggly quality of the pillowcase,
Grammy

Monday, August 12, 2013

Little Monsters Quilt, Done and Delivered

I know it's been a long while since I posted here.   We had a death in the family, our son joined the U.S. Air Force only to be medically discharged 8 weeks later(much angst involved in that one!), our house sold, our Tin Can Cabin sold and we moved all our belongings to a rental home, my mom took a terrible fall and is still recovering months later from fractures and other issues............and those are just a few of the things we have lived through this last 6 months.  So, I apologize for such a lengthy space in between blogs.

Whew!   But, all is calm now and I'm baaaack.   Here are some pics of the previously much mentioned Monster Quilt, which I somehow got completed despite all our recent craziness.

 I just love the bright colors and all the details in the monsters, the triangle border pieces and the quilting.  The center panel has 12 monsters in amongst the hundreds of varying sized circles.   Surrounding the panel are four different borders and then the large outside border is made up of strips of fabrics sewn together and then cut out as triangles and sewn to a wide white border.   See the small triangles randomly placed around the quilt edges?   More on those in a minute.
 The monsters were so much fun to make.   Choosing fabrics from my stash was a blast as I tried to capture a different personality for each little guy.   Good thing I have lots of stash!
 They all got topstitched in matching threads and their smiles were made using a tight zigzag in black thread.
 Then after the quilt was "sandwiched" with backing and batting, I used "swirly" free motion quilting in between all the circles and monsters.
Here's a close up view of the multiple fabrics required to make up each triangle in the border.   They were blanket stitched down in dark blue thread and then I used white thread to free motion stitch tight swirls in the white relief areas behind the triangles.   Now THAT part took a really long time.  You can see one of the three dimensional triangles I mentioned earlier peeking out of the upper left hand of the photo.


 Jarrad and Dawn, our son and daugher-in-law were really excited to finally see the quilt in its completed state(it's their youngest son, Nate, who is the recipient of the quilt).   Good grief, I've only been talking about finishing this thing for almost a year now!
 This is one of the outer corners with layered circles stitched in spirals to hold the three layers of the quilt together.   A darker bright blue anchors the quilt as the binding around the edges.  And I couldn't believe my luck when I came across this circle fabric in my colors!!!!!    It became the perfect fabric for the back of the quilt.
 Nate likes to fondle soft fabrics to soothe himself as he falls asleep.  So, I used some hand painted silk pieces I had in my stash and created three dimensional triangles and inserted them strategically around the quilt edges.   They are so smooth and soft and he found them right away upon his first inspection of the quilt.  
Jarrad had to give the quilt a test run, making certain it was up to standard for Nate before taking it home.  Ha!     I think it passed the test.......
 
 All I can say is that I don't think I have enjoyed making a quilt more than I did this one.   Hats off to the designer, Kellie from Don't Look Now! in Melbourne, Australia for an awesome pattern.   She has quite an imagination, wouldn't you say?

Wait'll you see the quilt I'm going to be working on for myself over the next few months.   It's a real brain teaser.  Until then,
Debbie


Friday, March 8, 2013

Pillowcase of the Month Club

For several years now I've been making pillowcases for our grandbabies to celebrate holidays and special occasions.   And now you can have some, too, by joining the Pillowcase of the Month Club.  Fabrics vary from month to month and if you sign up for the whole year, you will receive a bonus, free birthday pillowcase with your special child's name embroidered on it.  That makes it a baker's dozen!


Here are some samples:
Young Zoe is going to be surprised to see her birthday balloon pillowcase.
Starting at the bottom is St. Patrick's cloverleaves for March, strawberries for June and patriotic stars and stripes for July.
From the bottom to the top we have swimming paraphernalia for August, names of colors spelled out for back to school September, Boo!  for October and acorns for November.

I have so much fun  pulling fabrics for every month and coming up with new ways to celebrate the change of seasons and months.   Our grandbabies can hardly wait to change their pillowcases every month and I think yours will like them too!   If you'd like to join the club, call me @ 727-348-4013 and we'll get you started right away.

Seasonally,
Debbie


Wednesday, January 30, 2013

Making Progress

Well, the Monster quilt is coming along nicely.  I worked on it for 2 more days and finally the entire quilt top is completed!  Here are some pics that show how the borders were created.
I cut strips of varying widths from all the fabrics left over that were used to make the circles for the center panel.  Then, they were randomly sewed together and the seams pressed all to one side.   I used the template from the instructions to cut triangles.....lots and lots of triangles, from the newly created strip fabric.
The triangles were evenly spaced along the white borders and pinned in place.   Then I stitched them using a blanket stitch on the sewing machine.

Here's a peek at the quilt top with the borders attached.  Whew!  I need to backtrack here for a minute.   Before attaching the wide borders with the triangles, I had to create the narrow borders.  The green one on the left was no problem.   The orange and red one on the right was easy also and just had to have the large blue ric-rac centered onto the red strip.   The short end borders were another story, though.
The top border was a 2" white strip sewn onto a 1" red strip on one side and a 1" orange strip on the other.  Then I had to cut out and apply 20 1" circles on the white strip.
The bottom border consists of 3-1" blue strips sewn with 2-1" strips in between.   Wow, everything about this quilt takes time!   I have to admit, though, that I have really enjoyed making this quilt.   There's something fun about the challenge of a complex quilt that speaks to me.   Now I just have to "sandwich" the quilt with batting and a fabric I found for the backing with, what else, circles all over it!    Quilting it is another matter.  I have absolutely no idea how I'm going to quilt this one.   Wish I had a long arm quilter......sigh......someday, maybe.

Circle crazy,
Debbie


Tuesday, January 22, 2013

Time to Retire

Just before Christmas, a woman called me and asked if I could have a quilt done by January 4th.  Yikes!   It was Christmas and I had company coming for 10 days.    I told her it would be done and she brought everything over so we could discuss what she wanted the final product to look like.

Here's how everything turned out:
First, here is one of three piles of shirts she brought.
Shirts were first cut and organized into same size piles.
Whew!    Here's the final layout before being sewn together.  36 shirts, jackets and fireman jumpsuits were all incorporated in this quilt.   And, I was also able to add 4 patches and 3 embroideries.
Here is the completed quilt with the fireman border and black binding.   The client cried when she picked up the quilt and she took a pile of my business cards as she left.   The next day after the retirement party, she texted me that her husband was so moved that he cried in front of all his firefighter buddies when she presented the quilt to him........I love what I do for a living!

Very Satisfied,
Debbie